Stop the Panic: First Steps When Your Roof Springs a Leak
A roof leak in the middle of a storm is stressful, but your first goal is simple: keep everyone safe and keep the damage from getting worse. Quick, calm action also sets you up for a smoother insurance claim later. The way you handle the first hour can make a big difference in how your home and claim recover.
Start by looking out for obvious dangers. If water is coming through a light fixture or near outlets, turn off the electricity to that area at the breaker if you can safely reach it. Move kids, pets, and anyone else away from slippery floors, sagging drywall, or any spot where the ceiling is bulging. Do not walk under a ceiling bubble or a section of roof that looks like it might give way.
Once everyone is safe and the area is stable, you can start the part that will help your insurance claim: documenting what is happening. That means taking photos and videos, tracking where the water is spreading, and keeping proof of every temporary step you take. We will walk through how to do that in a clear, simple way.
Capture the Damage: Photos and Video Your Adjuster Needs
The pictures and videos you take in those first hours are some of the strongest tools you have. Think of it as showing your adjuster what you are seeing with your own eyes.
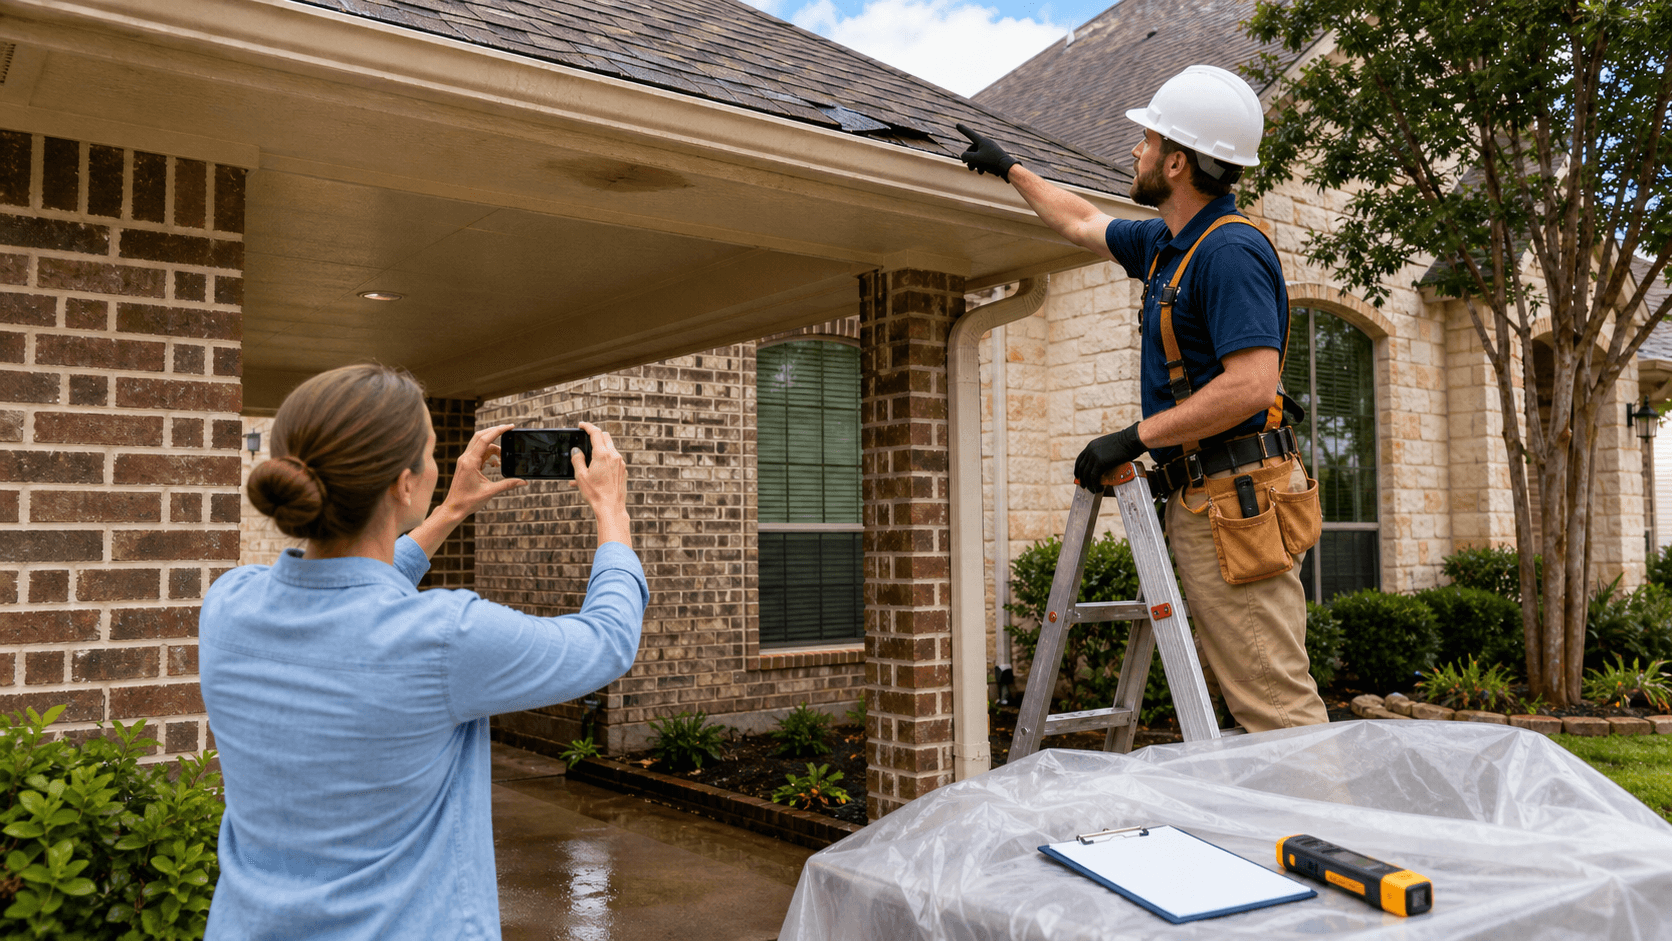
Outside, take photos only if it is safe to be out there. Stay on the ground, stay away from downed wires, and never climb on a wet or damaged roof. Focus on:
- Wide shots of each side of the roof
- Close-ups of missing or lifted shingles
- Any punctures, holes, or torn areas
- Damaged flashing around chimneys, vents, and valleys
- Bent or broken gutters and downspouts
- Debris that may have caused the damage, like tree limbs or blown objects
Inside the home, try to capture the path of the leak from top to bottom. Helpful shots include:
- Ceiling stains, cracks, or bubbling paint
- The exact spot where water is dripping or running
- Wet insulation in the attic, if it is safe to look
- Damp drywall on walls and ceilings
- Wet flooring such as carpet, hardwood, or tile
- Personal belongings that got wet, like furniture, rugs, or electronics
A few simple tips make your photos even more helpful:
- Turn on all available lights and open curtains to brighten the area
- Take photos from far away, medium distance, and close up
- If your phone adds date and time, keep that turned on
- Do not move items until you take at least a few photos of them in place, if it is safe to do so
If any part of the roof looks unsafe or hard to reach, leave that for a professional roofing contractor to document. No photo is worth a fall.
Moisture Mapping: Showing the Hidden Water Damage Trail
Water does not always show its full damage right away. It can travel inside walls, across ceiling joists, and under flooring. That is why moisture mapping is so helpful. Moisture mapping is simply making a clear record of where water has gone, both where you can see it and where a pro can detect it.
Contractors often use moisture meters and sometimes thermal cameras to find damp areas that do not look wet yet. This kind of information helps show the full scope of the emergency residential roof leak repair situation, not just the obvious stains. Insurance companies care about this because it supports repairs to hidden damage, like soaked insulation or wall cavities.
You can help create a basic moisture map in a homeowner-friendly way:
- Mark visible wet spots on walls and ceilings with painter's tape or sticky notes
- Write the room name on the tape, like "Living Room North Wall"
- If a contractor gives you moisture readings, write them down next to each area
- Keep copies of any diagrams, written notes, or thermal images you are given
- Create a simple log: date, room, surface (ceiling, wall, floor), and what you saw or what was measured
Over a few days, note any new stains or spots that appear. This timeline shows that the water came from the same emergency event and helps your adjuster see the full damage path.
Temporary Mitigation That Protects Both Home and Claim
After the leak starts, you have a duty to try to limit further damage. Insurance companies expect reasonable steps to protect your home. That does not mean doing your own full repair. It means simple actions to keep things from getting worse until a roofing contractor can step in.
Common temporary mitigation steps include:
- Placing buckets or containers under active drips
- Laying plastic sheeting or heavy-duty trash bags over furniture or electronics
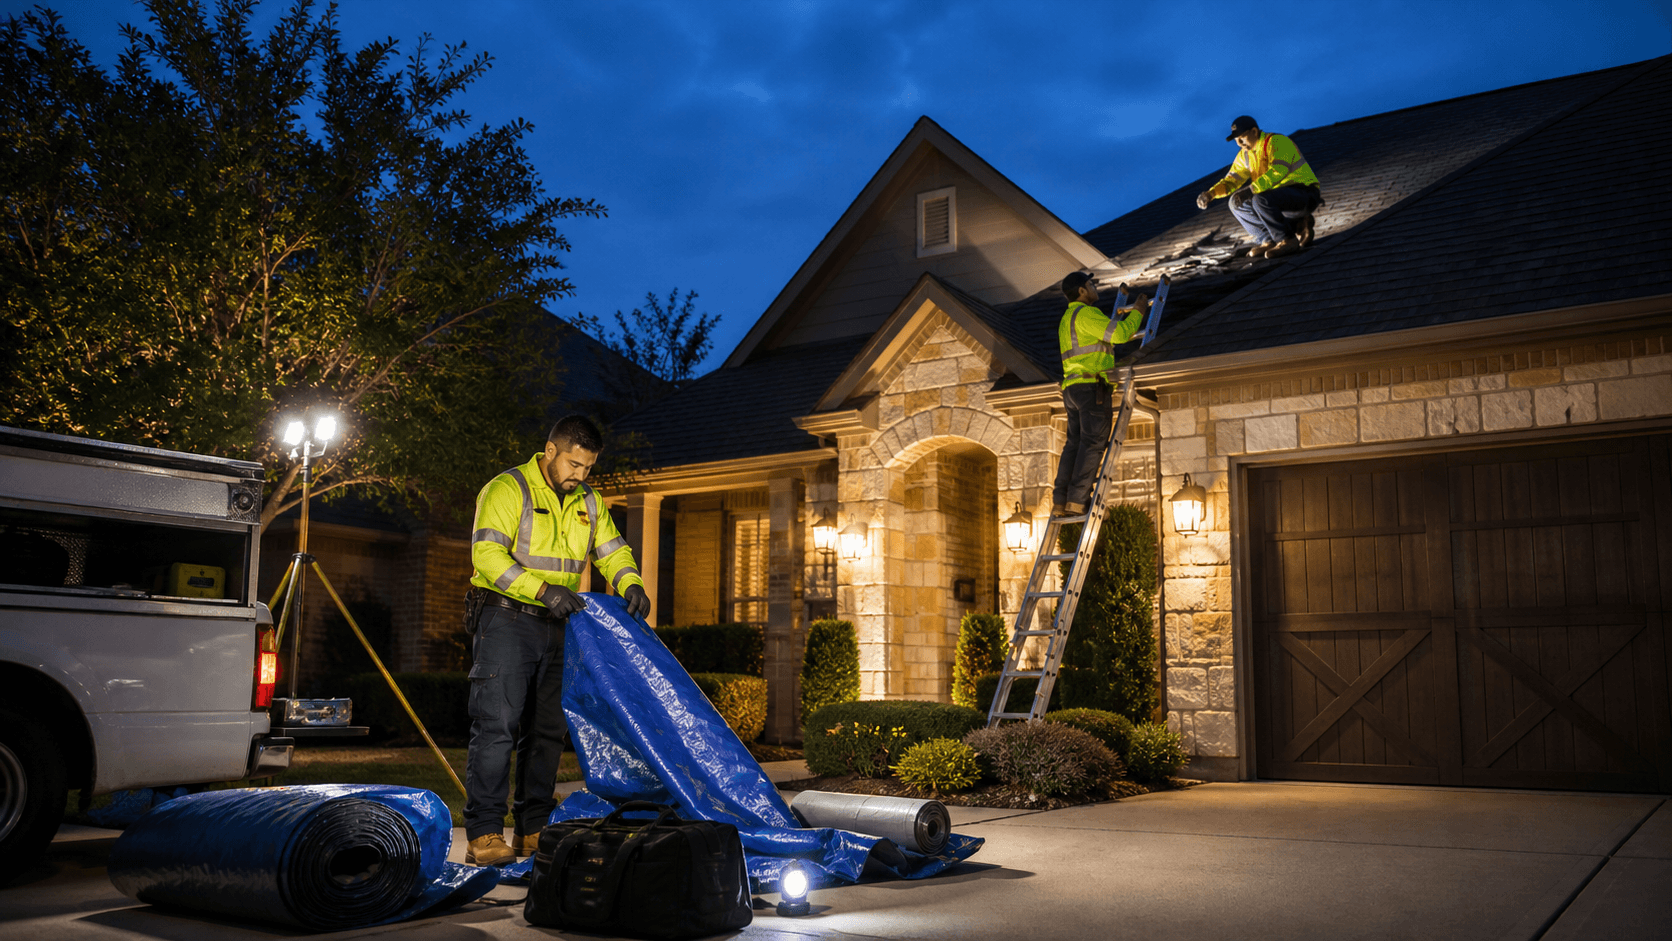
- Having damaged roof sections tarped by a professional
- Running fans and dehumidifiers in wet areas, if safe to do so
- Moving rugs, boxes, and valuables out of wet zones
The key is to document everything you do. Save every receipt related to mitigation, including:
- Tarps and plastic sheeting
- Shop vac or fan rentals
- Dehumidifiers or air movers
- Emergency visits from roofing contractors or water cleanup crews
- Cleaning materials like towels or disposable gloves
Take quick before-and-after photos of each step, like the ceiling before you set up buckets and after, or the roof before and after a tarp is installed. Keep a short log with the date, what you did, and who did it. This record shows your insurer that you acted responsibly to protect the property.
Organizing Photos, Notes, and Receipts for a Strong Claim
All that information is only helpful if it is easy to understand. Creating a simple "Roof Leak Claim" folder will make life smoother for you, your adjuster, and your roofing contractor.
You can keep two versions, one digital and one physical:
- A digital folder on your phone or computer for photos, videos, and scanned documents
- A paper folder or binder for printed receipts, notes, and any diagrams
Inside the digital folder, make subfolders labeled by location and date, such as:
- "Living Room Ceiling, Day 1"
- "Attic Insulation, Day 1"
- "North Roof Slope, Contractor Photos"
Add short captions when you can, like "First leak seen near light fixture" or "Tarp installed by contractor." This helps your adjuster understand what they are viewing without guessing.
Share key details with both your roofing contractor and your insurance company, including:
- When the storm or incident happened
- When you first noticed the leak
- What you did in the first 24 to 48 hours
- Any past roof repairs you are aware of
The clearer your story and evidence, the easier it is for everyone to work on the same page.
From Emergency to Full Repair: Partnering with a Local Pro
Once the leak is under control and basic documentation is started, it is time to bring in a local roofing expert. A contractor who works in the Prosper and North Texas area understands our weather, from strong winds to hail, and knows what kind of storm damage shows up on shingle roofs here.
A local pro can help with:
- Safe inspection of steep, slick, or damaged roof areas
- Professional photo documentation of shingles, flashing, and roof penetrations
- Moisture assessments in the attic and living spaces
- Repair or replacement estimates written in a format insurers are used to seeing
- Clear notes that connect roof damage to the emergency residential roof leak repair event
Taking these steps before the next round of storms gives you peace of mind. Set up a digital "Roof Leak" folder now, keep a short checklist of what to photograph and save, and store the contact information of a trusted North Texas roofing contractor so you can act fast and confidently when your roof needs help.
Get Started With Your Project Today
If you are dealing with an active leak or worried about recent storm damage, we are ready to help protect your home quickly and reliably. Learn more about our Emergency residential roof leak repair solutions and how we can stabilize the problem before it leads to bigger issues. The team at WM Contracting will assess your roof, explain your options clearly, and move fast to stop water intrusion. If you are ready to schedule service or have urgent questions, please contact us today.